Last updated on December 2nd, 2023 at 07:25 am
In the world of fashion, personalization has become a key trend, allowing individuals to express their unique style and creativity. One popular avenue for self-expression is do-it-yourself (DIY) customization, where ordinary clothing items can be transformed into personalized masterpieces. Among the various garments, winter pullovers stand out as versatile canvases for customization, offering endless possibilities for expressing individuality. In this article, we will explore the exciting realm of DIY customization, providing tips, techniques, and inspiration for personalizing your pullovers to create a truly one-of-a-kind look.
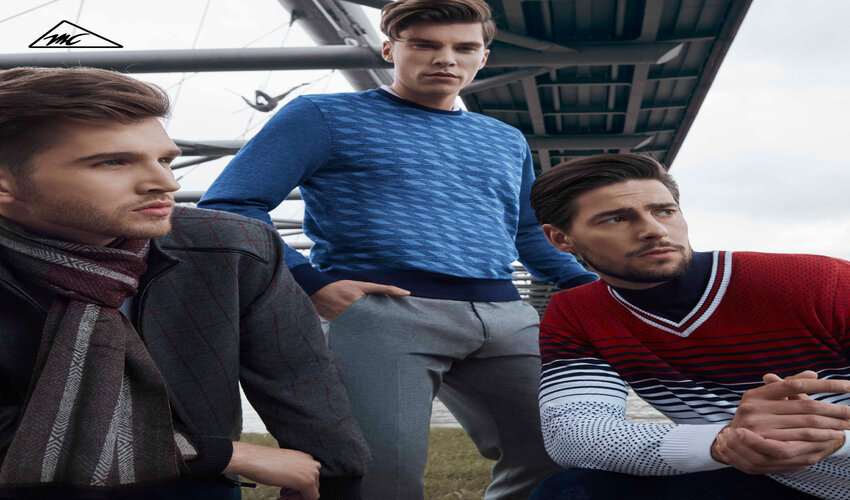
1. Choosing the Right Pullover
Before diving into customization, it’s crucial to select the right pullover for your project. Consider the fabric, color, and style of the pullover. Cotton pullovers are often preferred for their comfort and ease of customization, while darker colors provide a great backdrop for vibrant designs. Additionally, the style of the pullover – whether it’s a cardigan, hoodie, or zip-up – can influence the overall aesthetic of your customization.
2. Techniques for Pullover Customization
1. Painting and Stenciling:
- Lay your pullover on a flat surface.
- Place a protective layer inside the pullover to prevent paint from bleeding through.
- Use fabric paints or stencils to create unique designs.
- Experiment with colors and patterns to achieve the desired look.
2. Embroidery:
- Choose an embroidery pattern or create your own.
- Use a water-soluble pen to trace the pattern onto the pullover.
- Thread your needle and start embroidering, following the traced lines.
- Knot the thread securely at the end to prevent unraveling.
3. Patchwork:
- Collect iron-on patches or create your own fabric patches.
- Arrange the patches on your pullover to create a visually appealing layout.
- Follow the instructions to iron the patches onto the fabric.
- For a more personalized touch, consider sewing the patches for added durability.
4. Bleaching:
- Create unique patterns by selectively applying bleach to your pullover.
- Use a spray bottle or a brush to apply bleach in specific areas.
- Experiment with different concentrations and application techniques for varied effects.
- Wash and rinse the pullover thoroughly after achieving the desired look.
5. Mixed Media:
- Combine multiple techniques for a truly eclectic look.
- For example, paint a base design and add embroidery details for a textured effect.
- Experiment with different combinations until you find a style that resonates with you.
3. Inspiration for Pullover Customization
1. Nature-inspired Designs:
- Create floral patterns, leaf motifs, or even animal prints for a touch of nature.
2. Quotes and Typography:
- Express yourself with your favorite quotes, lyrics, or words that resonate with you.
3. Pop Culture References:
- Showcase your love for movies, TV shows, or music by incorporating iconic symbols or references.
4. Abstract Art:
- Let your creativity flow with abstract designs, using a variety of colors and shapes.
5. Vintage Vibes:
- Achieve a retro look with tie-dye techniques, vintage patches, or old-school embroidery.
6. Personal Memories:
- Customize your pullover with symbols or images that hold personal significance.
4. Tips for a Successful Pullover Customization Experience
- Plan Your Design: Before starting, sketch your design on paper to visualize the final product.
- Test Before Applying: Always test your chosen customization technique on a small, inconspicuous area of the pullover to ensure you’re satisfied with the result.
- Follow Care Instructions: Be mindful of the care instructions for your pullover, especially if you’re using techniques like bleaching or painting.
- Layering and Dimension: Experiment with layering different customization elements to add depth and dimension to your pullover.
- Embrace Imperfections: DIY customization is about expressing your unique style, so embrace imperfections as part of the charm of a handmade item.
- Share Your Creations: Showcase your personalized pullovers on social media to inspire others and connect with fellow DIY enthusiasts.
5. The Art of Personalization
Customizing your pullovers is more than just a craft project; it’s a form of self-expression. It allows you to make a statement, share your personality, and stand out from the crowd. Whether you’re a seasoned DIY enthusiast or a beginner looking to dip your toes into the world of customization, pullovers provide an excellent starting point.
6. Gathering Your Materials
Once you have the perfect pullover, it’s time to gather your materials. The specific supplies you’ll need depend on the customization technique you choose. Here are some common materials used in DIY pullover customization:
- Fabric Paints: Ideal for creating intricate designs and patterns on your pullover.
- Fabric Markers: Perfect for freehand drawing and adding fine details.
- Iron-on Patches: A quick and easy way to add personality without the need for artistic skills.
- Stencils: Useful for achieving precise shapes and designs.
- Embroidery Thread and Needle: For those who enjoy the tactile and textured feel of embroidery.
- Sequins, Beads, and Rhinestones: Add a touch of glamour and sparkle to your pullover.
- Fabric Glue: Essential for securing embellishments and patches.
- Scissors: For cutting fabric, thread, or any other materials.
Author Bio:
Sheenu is a passionate content writer with over 4 years of experience in the industry. She is currently working as a Content Marketing Specialist with a Luxury Fashion Brand that offers a seamless online shopping experience for men, women, kids, and home furnishing products at the best prices.