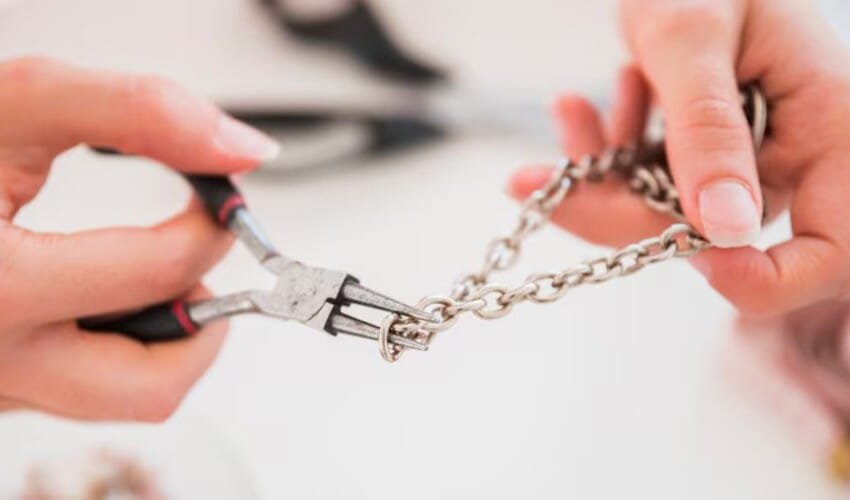
A tangled chainsaw chain can be very frustrating. It wastes time and slows down your work. But don’t worry. You can fix it with a few easy steps. This guide will show you how to untangle the chainsaw chain the right way every time. The process is safe, simple, and quick.
Why Chainsaw Chains Get Tangled
Chainsaw chains are long and flexible. That makes them easy to twist or loop. When you remove them for cleaning or sharpening, they can tangle. Dropping the chain or storing it loosely also causes tangles. Always handle chains carefully to avoid these issues.
Things You Will Need
Before starting, make sure you have these items:
- Work gloves (to protect your hands)
- A flat surface (like a workbench or table)
- Patience (this is important!)
Now let’s go step by step.
Step 1: Put on Safety Gloves
Chainsaw chains are sharp. They can cut your hands easily. Always wear gloves before handling the chain. This keeps your fingers safe while you untangle chainsaw chain.
Step 2: Find a Clean Flat Surface
Lay the chain flat on a clean surface. A table or wooden board works well. Make sure the area is well-lit. Spread the chain gently without pulling hard. The goal is to see the full shape of the tangle.
Step 3: Look for the Loops
Chains usually tangle in loops. Look for where the loops are tight or twisted. Do not try to pull the chain hard. That makes the tangle worse. Just spot the loops first. Understanding the tangle helps you fix it faster.
Step 4: Work From the Outside In
Start at the loose end of the chain. Gently shake the outer loops. This helps loosen the twist. Work slowly and do not rush. Pull one loop at a time. Don’t force anything. Chains are strong but still need gentle handling.
Step 5: Use a “Snake” Motion
Hold one end of the chain. Let the rest of the chain hang loose. Move it gently like a snake. This helps the links line up correctly. This movement often undoes small tangles. It’s a trick many pros use.
Step 6: Free the Tight Knots
Some knots might be tighter than others. For those, hold both sides of the knot. Wiggle them slowly apart. Do not yank. If one part is stuck, go back a step. Loosen a nearby loop and try again.
Step 7: Straighten the Chain Once Untangled
Once you untangle chainsaw chain fully, straighten it out. Lay it in one line. Make sure all links face the same direction. This is also a good time to check for damage. If any link is broken, replace it before use.
Step 8: Store It Properly
To avoid future tangles, store your chain properly. Roll it into a circle. Use a zip tie or string to hold it. You can also hang it on a pegboard. A neat storage space keeps chains safe and ready for use.
Common Mistakes to Avoid
- Don’t pull too hard – This makes tangles tighter.
- Never use tools like pliers – They can damage the links.
- Don’t work on a soft surface – A soft area like a bed or couch won’t help you see the loops.
- Don’t ignore gloves – One small cut can ruin your day.
Helpful Tips From Experts
- Try untangling right after removing the chain.
- Don’t throw the chain in a box or bag.
- Clean the chain before untangling it. Dirt can hide the loops.
- Watch videos if you get stuck. Seeing it done helps a lot.
When to Replace a Chain Instead
Sometimes a chain is too damaged. If a chain has broken teeth or twisted links, it’s not safe to use. It’s better to replace it than risk injury. Always inspect the chain once untangled. Safety should always come first.
Why This Method Works
Many people struggle to untangle chainsaw chain because they rush. The secret is being calm. Chains are flexible but need care. This method lets the chain move naturally. With steady hands, you’ll fix the tangle every time.
Conclusion
A tangled chain is not the end of the world. You can fix it without stress. Just follow these steps and be patient. Always protect your hands and give the chain space to move.
With this simple guide, you now know how to untangle the chainsaw chain the right way every time. You save time and keep your tools ready for work. Happy cutting — and always stay safe!


